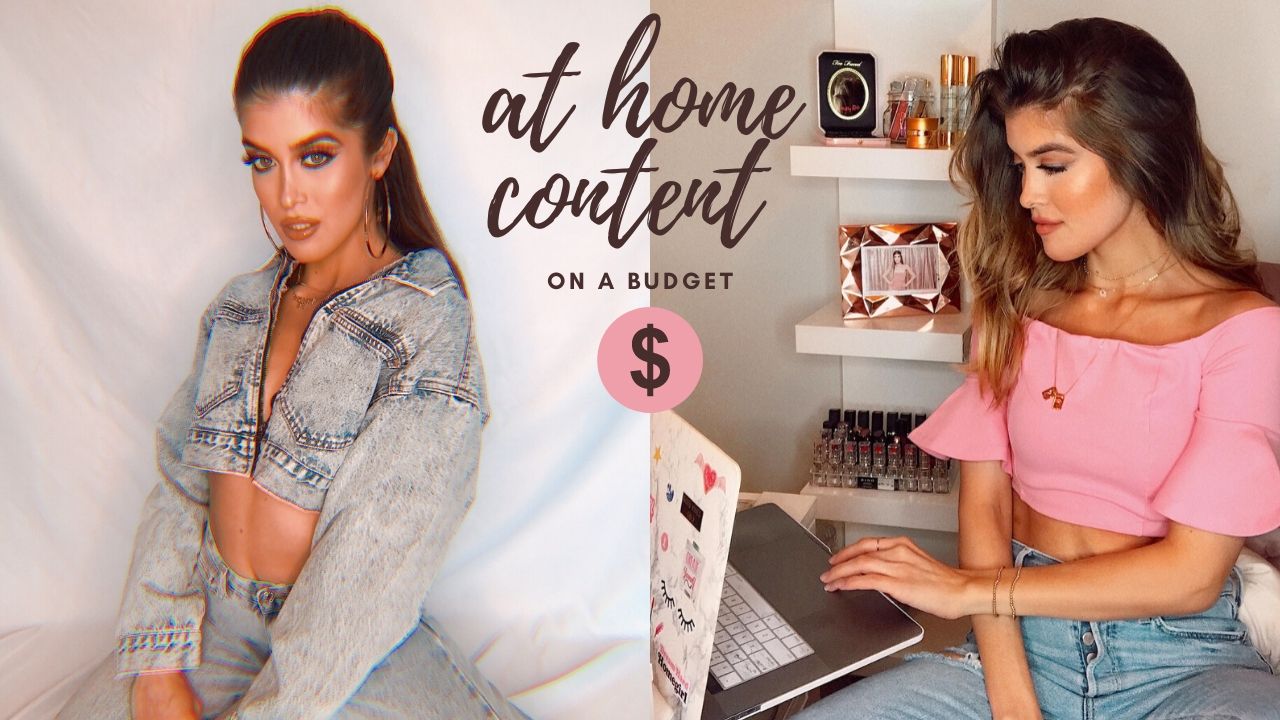
Hey guys! I’m back with some more content creation hacks. If you missed my last post on “Everything You Need to Know for At-Home Content Creation” including hacks and inspo, click here. With several years in the industry, I’ve discovered quite a few ways to make content creation budget friendly. You don’t always have to have the most expensive equipment to get amazing content. Here are some ways you can get your content looking more professional for a fraction of the cost while you stay home!
First things first, backdrops. Several creators use backdrops to add color, texture or crispness to their images/videos. However, backdrops can get pricey at your local fabric or photography store. That’s why I’m suggesting to use bedsheets. That’s right! B-E-D-S-H-E-E-T-S. They come in all sorts of solid colors or patterns and are available in every household. Once you give them a good steam or iron, they’re ready to be put to use! Another awesome trick for close up shots, product flat lays, or beauty tutorials is using solid colored poster-boards found at your local dollar store.
While fancy backdrop holders, like this one, aren’t too expensive, they can be a hassle to move around or to put together and take apart if you don’t have a designated studio space at home and are able to leave them set up. So, using thumbtacks or pins to hold up your backdrop to the wall is a great way to save money and maximize space. If you don’t want to potentially ruin your wall, using a shower curtain rod or window drape rod as a backdrop holder can really come in handy. All you need are claw hair clips (example found here) or industrial clips found at your local hardware store to hold your backdrops up.
Hack: if you really don’t get a chance to use a bedsheet or buy a poster-board, there are plenty of apps you can use, like PicsArt, that can transform your background into whatever you want! We’ll talk more about editing apps in a future blogpost.
I mentioned lighting in my previous content creation blogpost, but getting the most out of natural light available to you is KEY for at-home content creation on a budget. For those who want to create a brighter effect or artsy effect in images or videos, try setting up a few flashlights coming from different directions to get a more “professional” result. If you have a few extra coins to spare, invest in a small ring light is also a great way to get a bang-for-your-buck and level up your content creation. Here is one a lot of new bloggers use to kickstart their content.
My final hack for making your content look more “professional” at home: use a reflector. Now, I don’t mean to go out and buy a fancy one from your photography store or Amazon. I mean use a white poster board alone or wrap tin foil/aluminum foil around it! This will reflect whatever light you are using (natural or indoor/studio/flashlights) in whichever direction you want. The best way to use this trick is to have someone hold it for you or place it just under your chin (or around your waist area angled up toward your chin) to remove any unwanted shadows. Professional photographers and several influencers/bloggers/models use this trick to get an amazing, professional image and video result.

I hope these tricks help you create the most professional looking at-home content on a budget! Check out my first blogpost to this content creation series here. Keep an eye out for my upcoming blogpost talking all things EDITING APPS. Follow me on Instagram to see all these content hacks, tips and tricks come to life!

Love this!!!